First Steps in Russian Manicure: Tools, Practice, and the Basics Every Beginner Needs
Some people come to Russian manicure out of curiosity — they saw a flawless oval in their feed and wanted the same result. Others come for the math: demand for the technique is climbing faster than for classic manicure, and that's simply different money for the same appointment slot. The reason doesn't really matter. What matters is this: an e-file in inexperienced hands isn't just "not quite there yet" — it's a real risk of injuring a client. So before you switch the machine on for the first time, it's worth understanding where this technique actually begins.
What's Really Happening Under the Bit
Forget soaking and softening the skin — everything here is done dry. The cuticle isn't pre-soaked; it's worked with the e-file and cuticle scissors, and the work happens exclusively on dead tissue: pterygium, the overgrown skin that's attached itself to the nail plate. The living skin and the growth zone — the matrix — are never touched by the technician, at any stage. This isn't the "aggressive" method it sometimes gets called in video comments — it's an anatomically precise one.
Here's the first trap for a beginner: since the machine is fast, it feels like you should be learning it for speed. In reality, what gets built first is precision of movement — understanding exactly where the line between "allowed" and "not allowed" sits. Speed shows up later, on its own, as a side effect of a hand that's earned its confidence.
What You'll Actually Need in Tools
The starter list isn't as long as it looks, and it's a one-time purchase, not a per-appointment expense.
The e-file itself matters less for power than for control: smooth speed adjustment, reverse, stable torque at low RPM. The most powerful machine on the market will do a beginner more harm than good — the hand isn't ready yet to absorb its bite.
Bits are where the confusion usually starts. For removing coating, you use a carbide bit with a straight, non-pointed profile — the industry calls it a "corn" bit; specific examples are the PRO BURS #411 with a purple band or Crystal 31235, with Crystal 13236 for left-handed techs. For cuticle work, though, you need a diamond flame bit — the opposite shape, tapering to a point — 21mm diameter (KMIZ), red or blue band. Red wears out faster under a heavy client load; blue lasts longer. It's also worth keeping a silicone-carbide bit in the kit for buffing skin on dry hands. Cone bits are best set aside for beginners entirely — they're only for precise detail filing, and not in the first few weeks of practice.
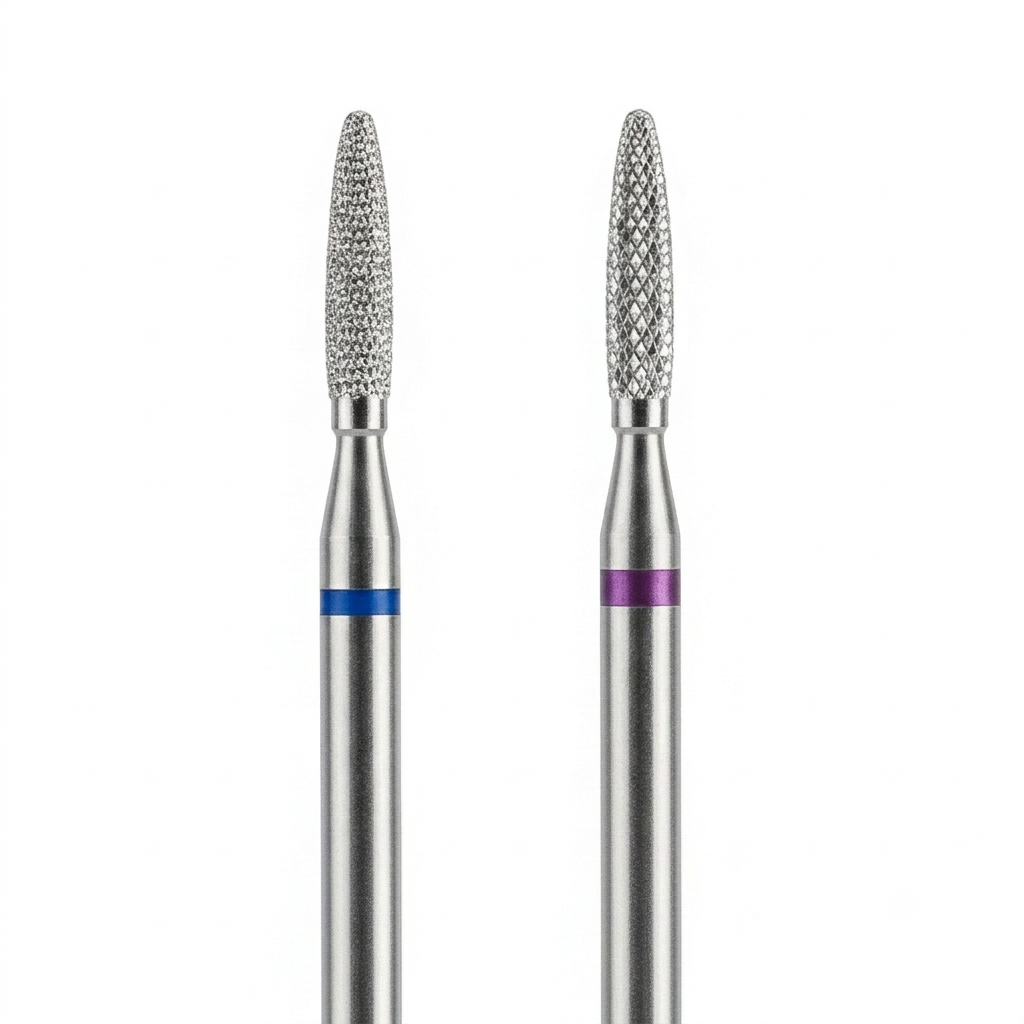
Beyond that: cuticle scissors (the primary tool in this technique, not nippers), a metal pusher, an orange wood stick for opening the pocket without the machine, files, a buffer, a dust brush, lint-free wipes, and a dehydrator with degreaser for nail prep.
What to Practice On Before You Have Clients
The progression here matters more than it looks like it should. Skipping a stage is the most common mistake beginners make when they're in a hurry to "start earning already."
It all starts with a silicone practice hand: this is where you build grip on the scissors, bit angle, and rotation speed — with no risk of hurting anyone. Next comes your own hand. It sounds strange, but it's on your own skin that you get the tactile feedback silicone never gives — you physically feel the border between dead and living tissue. After that: the hands of friends or family willing to be patient with a beginner. And only at the very end — real models, always under a mentor's supervision. Moving to live clients unsupervised is the leading cause of injuries among techs who taught themselves from videos.
Breakage & Shape Problems in 60 Seconds.
No more guessing which product is to blame.

The E-File Machine Needs Its Own Hand Training
A general practice hand isn't enough for working with the e-file. This calls for its own drills in angle control, RPM, and pressure — and the materials for them can be found right in the kitchen.
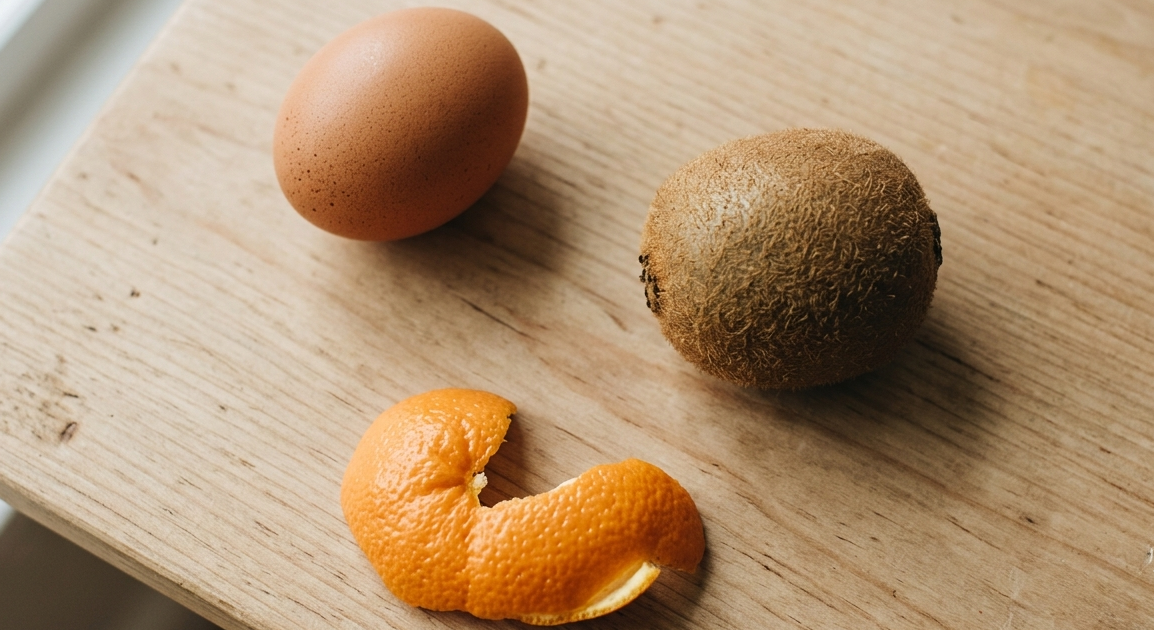
An egg is the classic: the shell mimics the fragility of living tissue, and if the bit cracks through it, the pressure is still too heavy — it's too soon to move on. Kiwi works similarly but a bit more finely: its fuzzy skin is close to pterygium in density, and it's ideal for practicing the exact motion you'll later use at the cuticle — shaving off a thin layer without touching the flesh underneath. Orange or tangerine peel teaches you to move without pressure, relying on RPM alone, and not to "hover" in one spot.
For the actual technique of coating removal and cuticle work, practice tips or acrylic plates on a silicone hand work well — you already get realistic finger geometry there, with zero risk to skin.
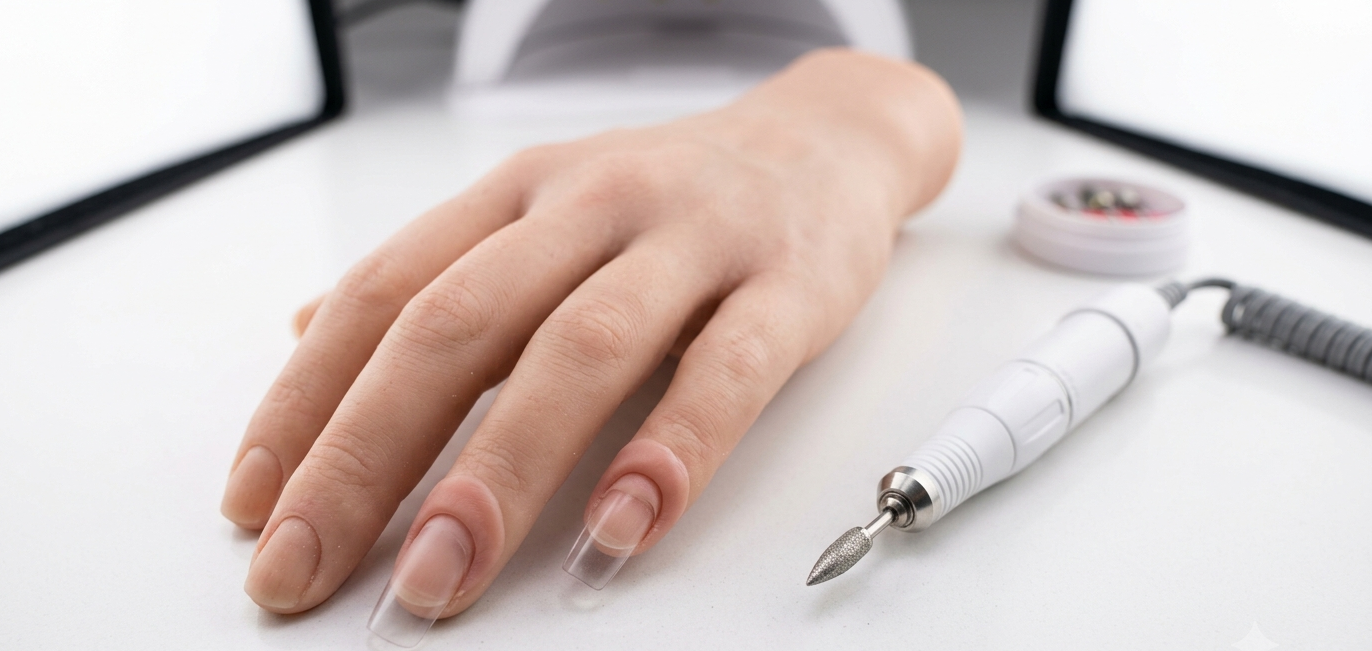
The rule is simple: start at minimum RPM with no pressure, and only once your hand can hold the bit steady in the air — no pressing, no digging in — should you gradually increase RPM and move toward the silicone hand, and eventually your own.
The Anatomy You Need Before Turning the Machine On
Without this, the technique genuinely won't come together — no matter how many tutorials you watch. The nail plate is the hard, visible part. The cuticle is specifically the dead skin — not everything around it. The proximal nail fold is the skin fold at the base of the nail. The lateral nail fold is the skin along the sides of the plate. Pterygium is cuticle that's grown attached to the plate — the main target of the work. The pocket, or sinus, is the space under the cuticle, carefully opened before cleaning. The lateral sinus is the side space near the nail fold. And the matrix is the growth zone — never to be touched, under any circumstances.
The difference between an experienced tech and a beginner usually comes down to exactly this: how confidently the hand knows where pterygium ends and living skin begins.
How to Work Safely With the E-File
RPM changes depending on the task: higher for coating removal, noticeably lower for delicate cuticle work. Direction is chosen based on the hand and the task, never as a default setting. The bit is always moving — even a second of static contact with skin can cause a burn. The angle to the nail is shallow, not perpendicular. And pressure stays minimal: the machine removes material through RPM, not through force.
Mistakes Almost Everyone Makes
Rushing — trying to match an experienced tech's speed in the first few weeks. Pressing harder "just in case," when it should be the opposite. Skipping anatomy to get to practice faster. And perhaps the sneakiest one — learning from scattered videos online, where there's no logic to the sequence of steps and, often, no mention of safety at all.
Where to Actually Start
A practice hand, anatomy, and slow practice at low RPM — that's the entire starting toolkit. After that: live models strictly under a mentor's supervision, or a structured course where the technique is broken down step by step, not pieced together from random scraps of different sources.